閱讀時間:2 分鐘, 40 秒
想讓讀者在你的 WordPress 網站上流連忘返嗎? 在文章末尾加入相關文章,就像在文章之間架起一座橋樑,能有效地吸引讀者繼續探索你的網站。這不僅能提升讀者體驗,還能幫助你的文章在搜尋引擎上獲得更好的排名。
為什麼要加入相關文章?
- 提升使用者體驗: 讓讀者輕鬆找到與他們興趣相關的其他文章。
- 改善搜尋引擎排名: 內部連結有助於搜尋引擎了解網站結構,提升搜尋排名。
- 降低跳出率: 讓讀者在你的網站上停留更久。
- 推廣舊文章: 將舊文章再次呈現給讀者,讓它們獲得更多曝光。
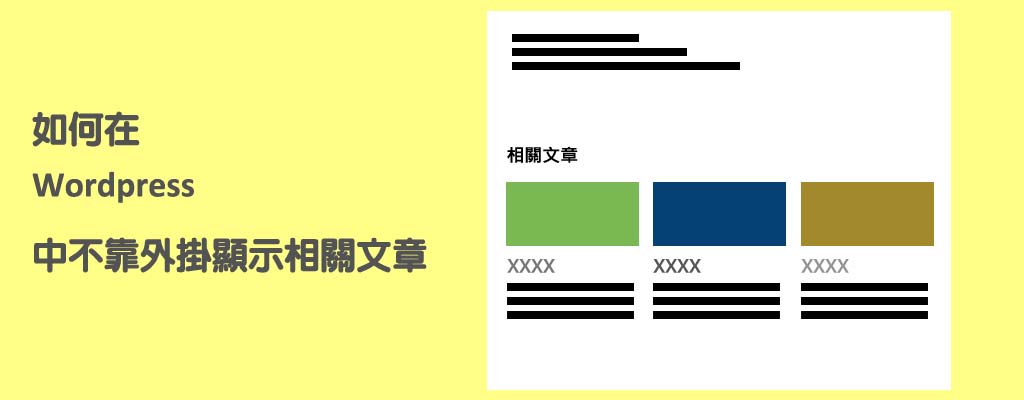
不靠外掛,也能輕鬆加入相關文章!
動手寫程式碼
如果你對程式碼不陌生,可以透過加入以下程式碼到你的主題 functions.php 檔案中,來顯示相關文章。
PHP
function cw_related_posts($args = array()) {

global $post;

// default args
$args = wp_parse_args($args, array(
    'post_id' => !empty($post) ? $post->ID : '',
    'taxonomy' => 'category',
    'limit' => 4,
    'post_type' => !empty($post) ? $post->post_type : 'post',
    'orderby' => 'rand'
));

// check taxonomy
if (!taxonomy_exists($args['taxonomy'])) {
    return;
}

// post taxonomies
$taxonomies = wp_get_post_terms($args['post_id'], $args['taxonomy'], array('fields' => 'ids'));

if (empty($taxonomies)) {
    return;
}

// query
$related_posts = get_posts(array(
    'post__not_in' => (array)$args['post_id'],
    'post_type' => $args['post_type'],
    'tax_query' => array(
        array(
            'taxonomy' => $args['taxonomy'],
            'field' => 'term_id',
            'terms' => $taxonomies
        ),
    ),
    'posts_per_page' => $args['limit'],
    'orderby' => $args['orderby'],
    'order' => $args['order']
));

if (!empty($related_posts)) { ?>
    <div class="related-posts">
        <h3 class="widget-title"><?php _e('相關文章', 'textdomain'); ?></h3>

        <div class="related-posts-grid">
            <?php
			 $i = 0 ;
foreach ($related_posts as  $post) {
				if ($i >= 4 ) {break;}

	setup_postdata($post);

                ?>
                <div class="related-post-item">
                    <a class="title" href="<?php the_permalink(); ?>" title="<?php the_title_attribute(); ?>">
                        <?php if (has_post_thumbnail()) { ?>
                            <div class="thumb">
                                <?php $width = 1024; $height = round($width / 2.56);
                                    echo get_the_post_thumbnail(null, array($width, $height), array('alt' => the_title_attribute(array('echo' => false)))); ?>
                            </div>
                        <?php } ?>
                        <h4><?php the_title(); ?></h4>
                    </a>

                </div>

				<?php
                    $i++;
                } ?>
            </div>
        </div>
        <?php
    }

    wp_reset_postdata();
}


接著加 CSS 到 主題模板的additional CSS 部份。
CSS
.related-posts-grid {
    display: grid;
    grid-template-columns: 1fr 1fr;
    gap: 20px; /* Adjust the gap as needed */
}

.related-post-item {
    /* No need for flexbox here */
}
下一步,在模板中任意位置呼叫函數 cw_related_posts() 。通常,您需要在呼叫 the_content()之後將其新增至single.php檔案。
函數的彈性與擴展性
函數 cw_related_posts() 具有良好的彈性。透過 $args 參數,您可以自定義許多顯示選項,例如:
- 顯示數量: 使用
limit參數控制顯示的帖子數量。 - 分類依據: 使用
taxonomy參數選擇分類方式,例如分類或標籤。 - 排序方式: 使用
orderby參數設定排序方式,例如隨機、日期、標題等。
範例說明
您提供的範例清楚地展示了如何使用該函數:
- 顯示 6 則相關貼文: 透過
limit => 6將顯示數量改為 6 篇。 - 根據標籤顯示相關貼文: 將
taxonomy參數設為post_tag,即可根據標籤顯示相關貼文。
額外建議與擴展
- 自訂樣式:
- 您可以在函數中加入更多參數,例如
before和after,用於在相關帖子列表前後插入自定義 HTML。 - 您可以提供更多 CSS 類別,讓使用者可以更精細地控制樣式。
- 您可以在函數中加入更多參數,例如
- 排除特定帖子:
- 如果您希望排除某些帖子,可以在
$args參數中加入post__not_in參數,指定要排除的帖子 ID。
- 如果您希望排除某些帖子,可以在
- 多語系支援:
- 效能優化:
- 如果您的網站有很多帖子,可以考慮使用過濾器或動作來優化查詢,提高性能。
完整範例(含自訂樣式與排除特定帖子):
PHP
function cw_related_posts($args = array()) {
    // ... (原有函數內容)

    if (!empty($related_posts)) { ?>
        <div class="related-posts <?php echo $args['class']; ?>">
            <?php if (isset($args['before'])) { echo $args['before']; } ?>
            <h3 class="widget-title"><?php _e('相關文章', 'textdomain'); ?></h3>

            <div class="related-posts-grid">
                </div>
            <?php if (isset($args['after'])) { echo $args['after']; } ?>
        </div>
        <?php
    }

    wp_reset_postdata();
}
使用範例
cw_related_posts(array(
    'limit' => 4,
    'taxonomy' => 'post_tag',
    'post__not_in' => array(123, 456), // 排除 ID 為 123 和 456 的帖子
    'class' => 'my-custom-class', // 自訂 CSS 類別
    'before' => '<div class="related-posts-wrapper">',
    'after' => '</div>'
));